Drybrushing Guide – How to Drybrush your Printed 3d Miniatures
If you’re going to elevate your minis painting to a completely different level – you couldn’t click better! From this guide, you’ll get to know how to dry brush your miniatures step by step, what items you need to take off, and when you best benefit from it. Dry brushing is one of the highlighting techniques which allows you to bring out detail on a 3d miniature. Unlike fluid washes which make hidden, darker spots even darker (you can find out about them from our Minis Painting Guide), the dry brushing technique reverses this process, hitting only raised areas and making them look highlighted. One of them is fluid and the other is dry, and that’s what makes a difference.
To apply the dry brush technique you’ll need:
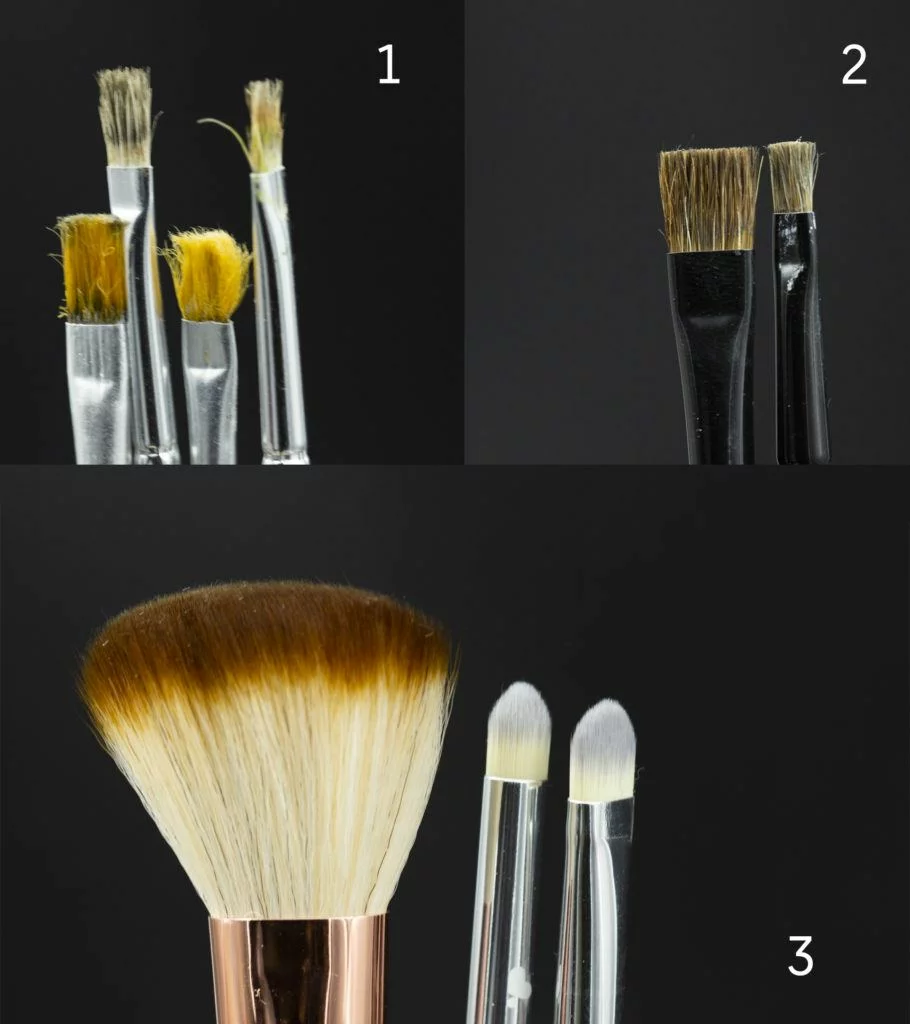
1.A brush – in our Guide we pointed out that you need to prepare a dry brush before you start painting your minis. However, it doesn’t mean it has to be a fancy and expensive brush. It’d be even better to use any old, grungy, balding brush for this purpose. You may keep the brushes that are damaged and hold on to them. It becomes your dry brushes eventually. One day later, when you become a master of painting, you’ll put into play specific dry brushes. You don’t have to buy them meanwhile.
2. A bit of unwatered paint – Precisely that – unwatered. Which is why it’s not a good idea to add them to your wet pad. You want paints as dry as they can be. Ideally, just put them on any unmoisturized material.
3. Some pieces of toilet paper, tissues, or paper towels. Anything paper honestly.
When best to use dry brushing and what to do before you start
1. Colors – in most situations, you’ll use a little bit lighter color than the one you used to the previous layer. However, sometimes it’s better to use a strong, different color if you want to get a more distinct contrast. On the other hand, drybrushing is not only about the highlighting. You may use it to apply a regular color, like in metal elements. It all depends on your plan for your printed 3d minis.
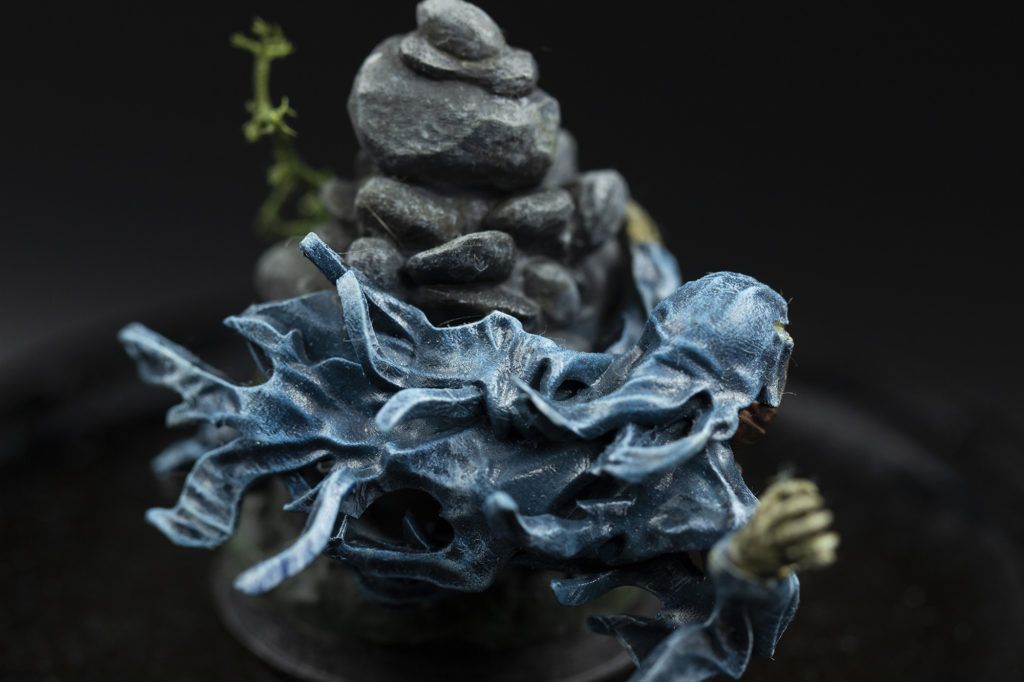
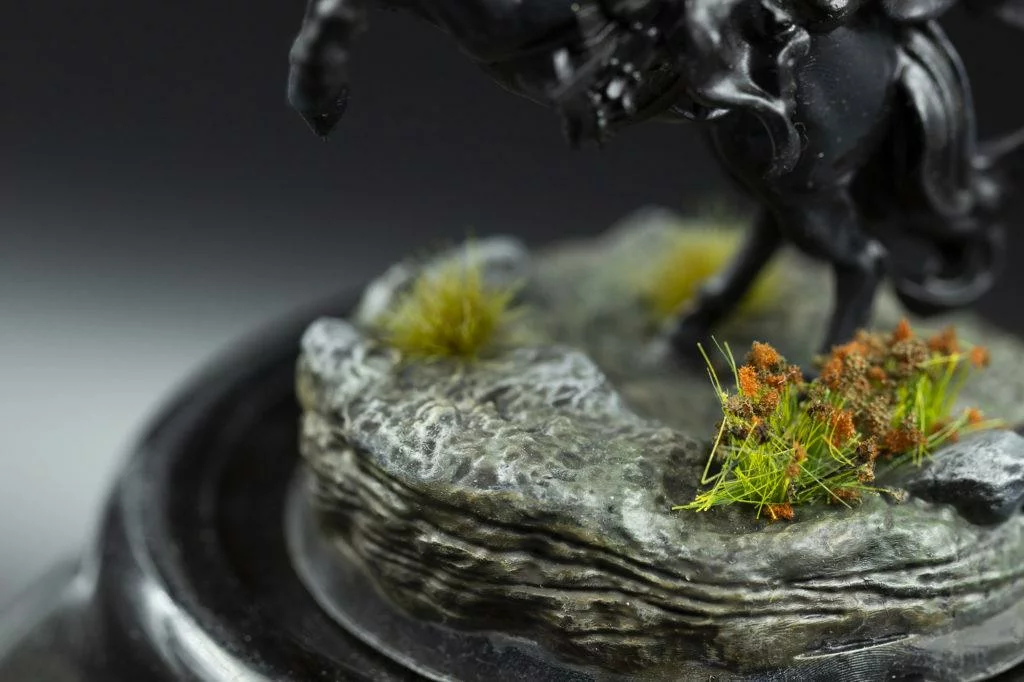
2. Drybrushing is good for painting rocks, metal elements, bricks, werewolves fur, or princely muss hair. Especially useful painting your bases as it is often filled whether with boards, raw ground, or greenery. Basically, if you’re up to revealing some varied textured parts on your 3d miniatures – grab your dry brush!
Drybrushing step by step
1. Prepare a paper towel.
2.The bottom line here is to take some paint on your brush and wipe as much of it as you can with a paper towel. As the paper is usually white, be careful wiping the white color because it’s difficult to notice how much of the paint left. When in doubt – dare to doublecheck wiping brush against your hand!
3. Keep in mind: less is more! In drybrushing, it’s easier to paint with too little paint on a brush than too much.
4. When there’s almost no paint left on the brush, you can take your 3d figure and start moving your brush just as you need, depending on what effect you want to get. Firstly, you may move it back and forth. That’s how you can reach both sides of the raised miniatures elements. Remember though, brush strokes need to be gentle, especially if you don’t plan to cover the whole element.
Secondly, if you like to experiment, you may use your brush in only one direction. The reason behind it is it looks more like light falling on your figurine from above.
5. It’s worth to mention the overbrushing technique, as it’s quite similar to this in question. The only difference is that the brush can be damp at the time. Usually, it’s about putting a little more paint on it than in drybrushing. The devil is in the details! And the latter can thus become highlighted more clearly without risking the paint float.
6. Here the drybrushing ends, but the painting process goes (ever) on! You can move on to the next steps such as washing or adding some other details.
As you can see, the dry brushing technique is super easy to apply to your miniatures. Basically, it’s about drying and painting. Although, it takes some effort to plan your colors and practice covering. Over time you’ll get good at it. Osgiliath was not built in a day! You may gain some practice on our excellent detailed 3d miniatures. If you seek inspiration, you can check out some examples of our painted figurines below. Good luck!